Decals for British Railways
Diesel and Electric Locos

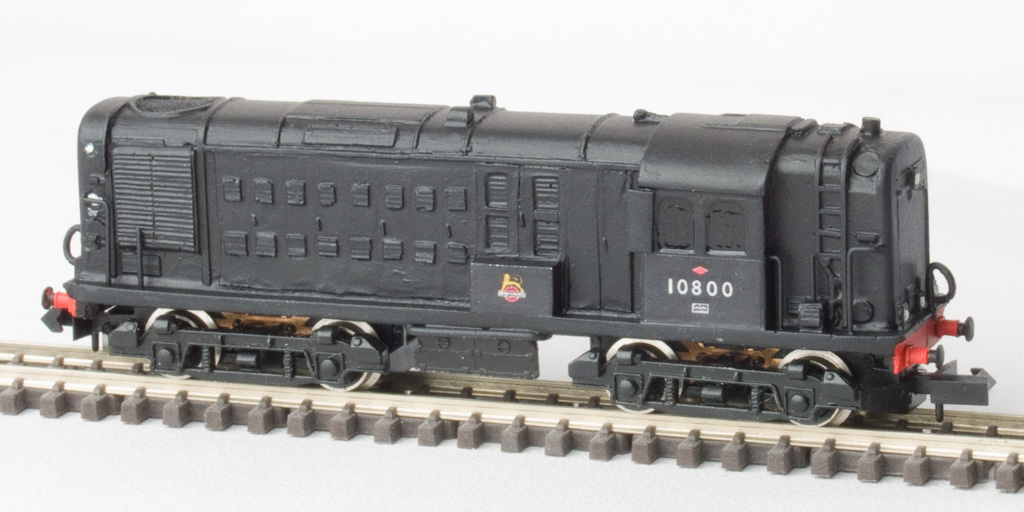
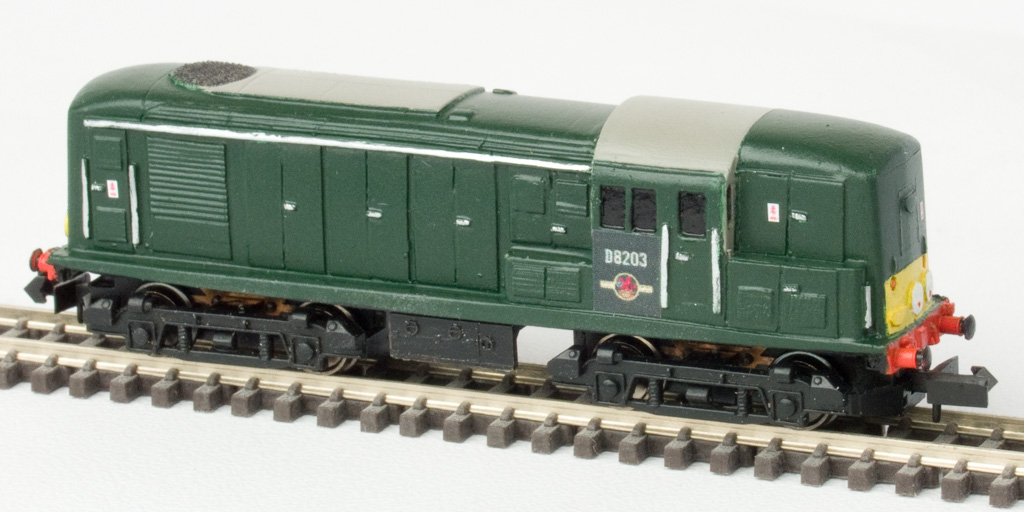
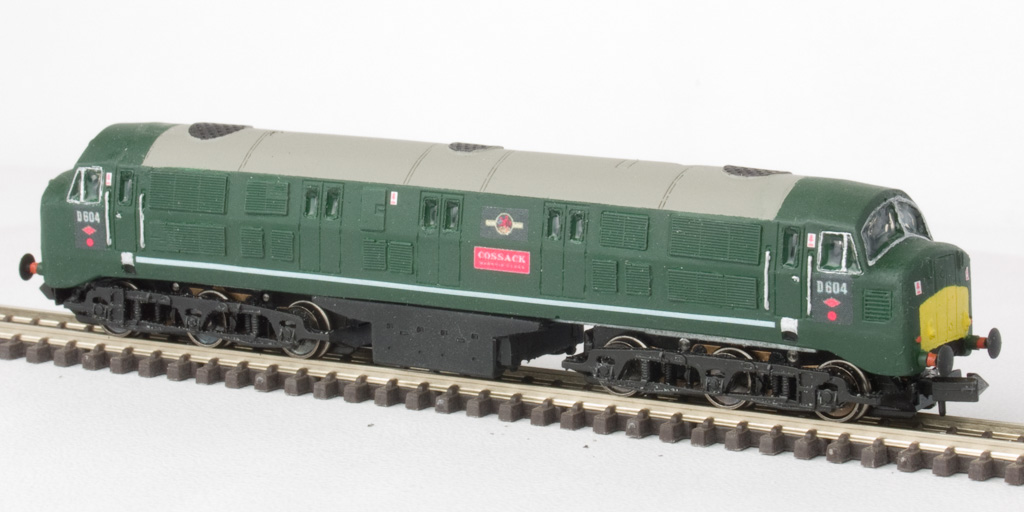
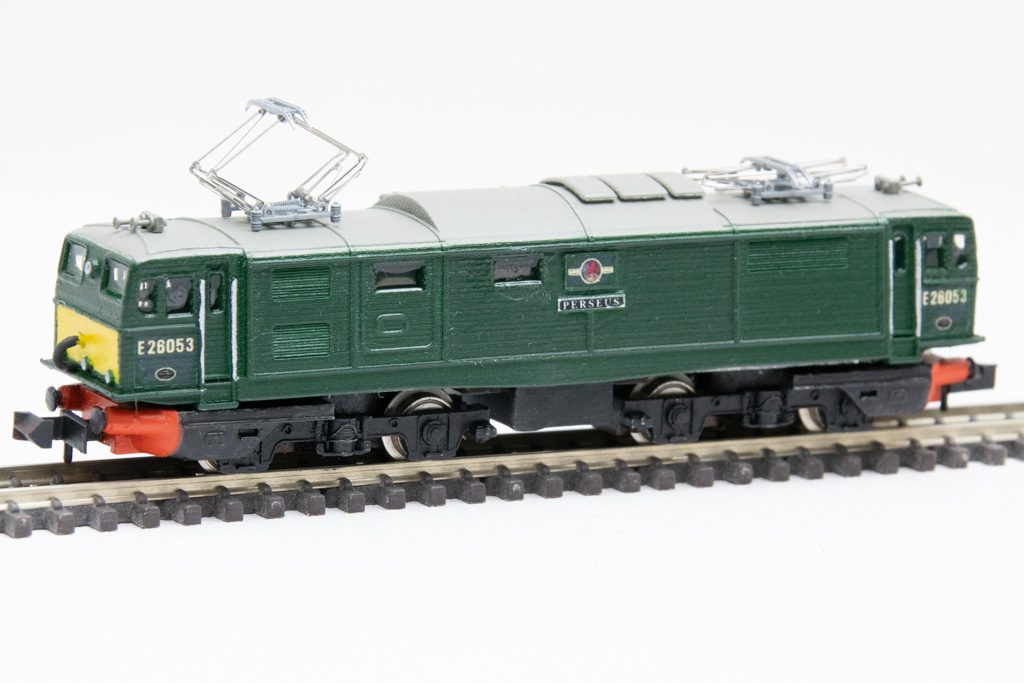
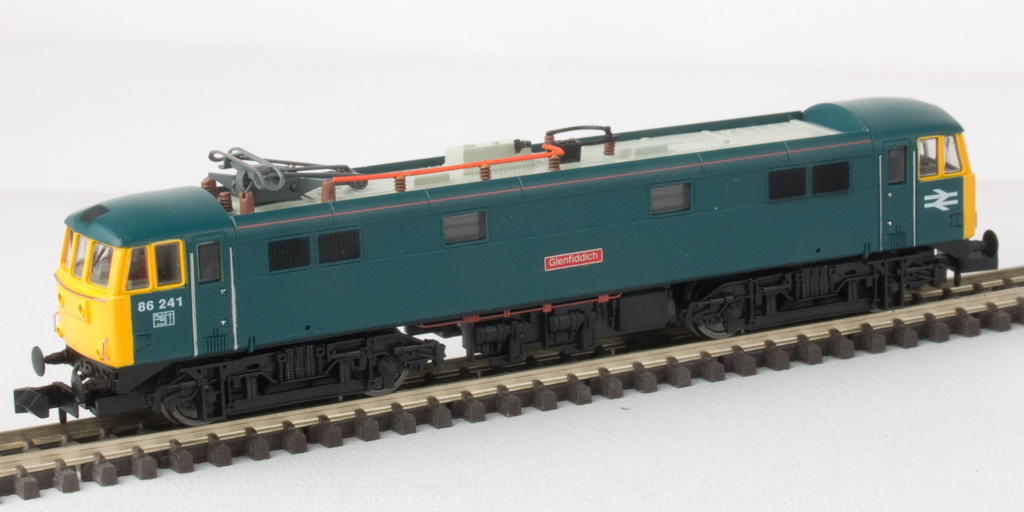
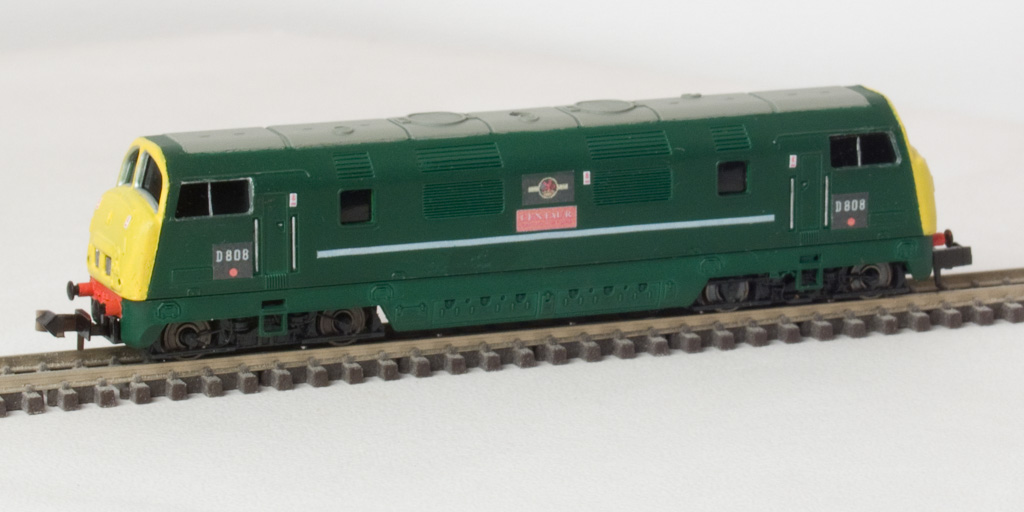
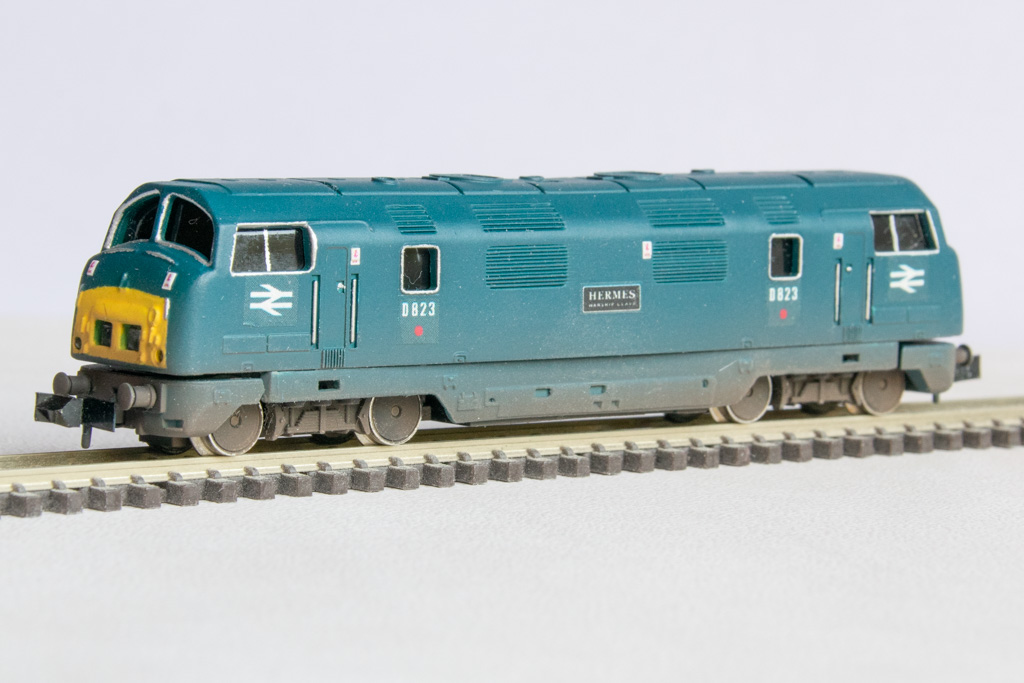
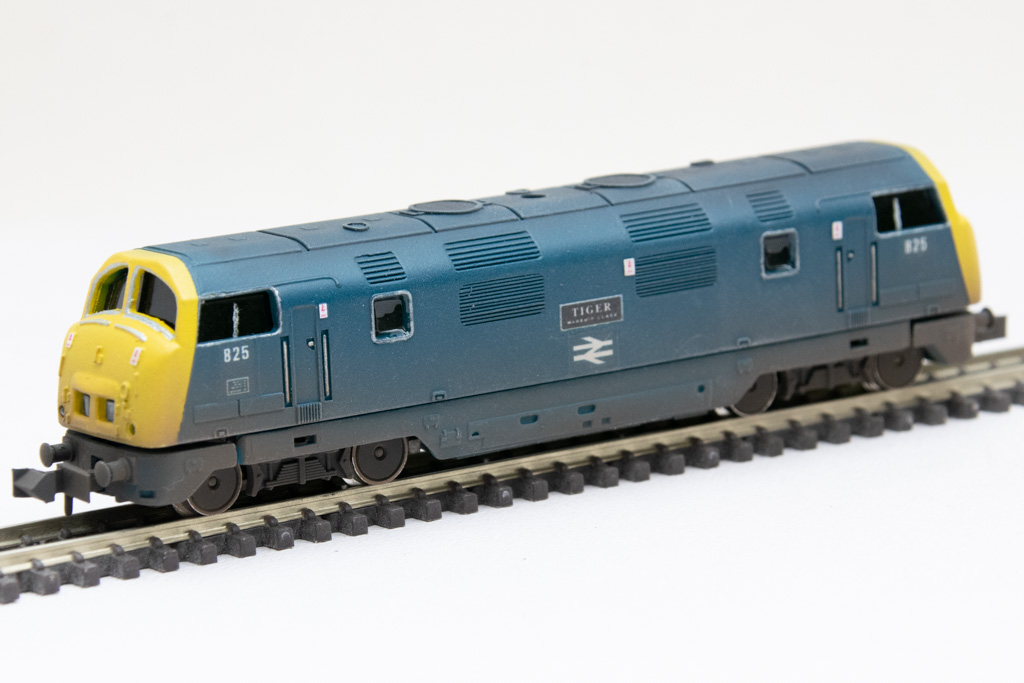
A selection of models finished with these decals, all in 2mm scale.

Note: Clicking on any of the images on this page, such as those above, will cause a larger version of the image to appear in a new tab or window of your browser (depending on how your browser is set up).

These decals are for the standard British Railways/British Rail livery elements used on diesel and electric locos. The period covered is from nationalisation up to, but not including, the sectorisation period of the mid-1980s. Each set provides decals for a single loco, customised for a specific loco number, and can contain:

  • Cabside numbers
  • Crests or double-arrow logos
  • Loco data panels
  • Name plates
  • Shed allocation or plate
  • Overhead live wire warning labels
  • Multiple working control labels

The crests and overhead and multiple working labels are also available as standard sheets. Decals for headcodes are also available here.

The Decals

The decals are available in a variety of scales and configuration options provided below hopefully cover most diesel and electric locos as they appeared during the specified period. The range of configuration options available is quite extensive, so once I have generated the artwork for your chosen loco in response to your order, I will send you an illustration by e-mail, for you to check and if necessary make changes before I finally print your decals and send them to you.

As discussed in more detail elsewhere, my printer does not use white ink, and only the black ink is opaque. The decals will therefore be printed onto decal paper with a white backing film. The decals will incorporate a background colour intended to match the colour of the loco where they are to be applied. You will need to select which colour is most appropriate for your loco from the options given below.

The backing film will be continuous across the sheet, so you will need to cut the decals to size. Cutting guides (short lines around the edges of each decal) are provided to help with this. It is usually better to use a light cut around the decal edges with a sharp knife, just deep enough to cut the film but not all the way through the supporting paper, then cut through the paper further away from the decal edges. The extra paper can then act as a convenient "handle" to help transfer the decals to your model. Once released by soaking in water, the excess film is best removed before sliding the decals into position on your model.

The background colour is arranged to overlap the cut lines to minimise the risk of including white background film in the cut decal. The white backing film, although very thin, could still be visible around the edges of the decal once in position, especially if it can be viewed edge-on. This is easily solved by touching up with thinned paint of the appropriate background colour around the edges of the decal, the idea being to tint the edges of the film while not significantly affecting the surrounding paint finish.

The decals will be printed on paper up to A5 in size for ease of posting. Where space is available, at least one spare of each decal type will be provided for you to experiment with, or in case of problems during application. Full instructions for applying my decals will be provided with your first order, or are available here.

Livery Elements

The cabside numbers are implemented as complete, multi-digit decals, with the individual digits equally spaced; no more messing around getting the digits aligned and correctly spaced, and no ugly decal boundaries between adjacent digits. They can also optionally be implemented with border and/or shading to simulate a number plate.

Other cabside markings, such as shed allocation/plates and the later data panels and double-arrow logos are also provided in typical correct positions in a single decal, centrally placed above or below the cabside numbers; it is then up to you whether you apply the number and other markings as a single decal, or cut the decals up to apply them separately, perhaps in non-standard positions.

For the earlier green era, two types of crest are available. The earlier type of crest ("Lion-on-wheel") is available in three different sizes and is supplied as a handed pair with the lion facing left and right. The later type ("Lion-holding-wheel") is available in two sizes and either with the lion facing left only, or as a handed pair.

The crest sizes available are:

  • Early – 15, 9.5 and 5 scale inches high,
  • Later – 24 and 15 scale inches high.

The heights are measured across the outside diameter of the circle or wheel, as these dimensions are clearly defined and relatively easy to scale from prototype photos (given a key vertical dimension in the vicinity of the crest). Some diesel locos, notably some of the WR class 52 Westerns, used crests of the type used on carriages instead of the standard loco crests. Decals for these can be selected too.

Double-arrow logos can be selected for the later British Rail blue era period. When used centrally on the body side, these are assumed to be 24in. high. Some locos used smaller versions near each end instead of a central logo.

For the London Midland Region AC electrics, the centre of the later crests is implememented as a simulation of the metal plate versions used on these locos. Likewise, simulated metal plate versions of the double-arrow logo are also available for the later British Rail period.

These decals can be supplied in a variety of scales, from 2mm to 16mm, come on white-backed waterslide decal paper, and are available with a selection of background colours that have been carefully matched to the Railmatch range of paints:

  • Rail Black R205
  • BR Standard Loco Green R300
  • BR Maroon R306
  • BR Electric Blue R315
  • BR Rail Blue R207

The colours above are for the main loco body colour. In some cases certain markings appeared against secondary colours:

  • BR Sherwood Green R301
  • BR Diesel Yellow-Green R302
  • Early Warning Panel Yellow R304
  • Later Warning Panel Yellow R202


Sample Sheet

A sheet of samples of these decals is available, to help you assess their quality. This contains one of each of the types and sizes of decals against each of the primary background colours.

Price: £1.50 per set.

Configure Your Decals

To order these decals, please specify the information requested below to configure your set to your precise requirements, then click on "Confirm Specification". A second page will then appear showing the details you've entered along with a button that will allow you to add the set to your basket. You will also have the opportunity to return to this page to make changes.

Note: If you navigate away from this page before you have clicked on the "Confirm Specification" button, you may lose any information you have entered.

Basic Configuration

The price is £9.50 for each set of a specific configuration.

This is the main body colour of the loco, most markings were displayed against this. However, in some cases certain markings appeared against other colours, such as a lighter green or the yellow end warning panel colour that sometimes wrapped around onto the sides as far as the cab door. You can therefore also specify up to two additional secondary colours:

You will be able to specify which colours are used for the background of each decal below. Leave as "None" if not required.

Cabside Markings

The standard BR cabside markings consisted of a number or number plate with a shed allocation plate or label centred below it. Locos allocated to the Western Region also included a GWR-style route availability coloured disc. In the BR blue era, the data panel and sometimes a double-arrow logo appeared here too.

The loco numbers are available in several styles, as illustrated below:

  • Green-era (early) painted-on, in white, straw, cream or yellow-gold. Some locos (notably WR Warships) appeared to use thin, individually applied metal plate numbers in the same style.
  • Blue-era (later) labels, usually white, or sometimes black if against a yellow background.
  • Traditional number plate, with border, usually bright alloy but some could have been brass, with a black or red plate background. (For the decals the black will actually be dark grey, so that simulated shadows can be added.)
  • LMR AC electrics number plate, borderless in bright alloy with body-colour blue background, making the numbers appear to be applied individually.

Green-era numbers, serif and sans-serif D, in metal plate, straw, cream and yellow-gold.

Blue-era numbers, pre- and post-TOPS.

Number plates, traditional with black and red backgrounds, and borderless AC electric. Against loco green, rail blue and electric blue body colours.

Please include any D or E prefix.

For black-on-yellow, set the number white here and set the cabside background to the appropriate yellow colour below.

The standard height of green era and plate numbers was 8 inches, for the blue era this was 6 inches. You can also override the standard size to cater for any special cases.

Shed Allocation types: plate, painted-on and later label.

In the green era, shed allocation markings took the same form as for steam locos, a number with a single letter below it. In the blue era this was replaced by rectangular label with border containing the shed letter code, sometimes with the name in smaller letters above.

In the green era, the shed plates were always white on a black background. The painted-on versions were white on the cabside background colour (and no border). In the blue era the shed label was white on the cabside background, or black if the background was yelow.

Data Panels, early and later labels.

The data panel only applies to the blue era and consisted of several lines of text, each follwed by a numeric value and appropriate units. For maximum flexibility, please use separate lines in the order they are to appear in the panel, from top to bottom, and include the text, units and value as required. I will align the text you provide at the text–value boundary as shown in the typical panels illustrated on the right.

Later versions separated the first line from the rest with a horizontal line. Some included a sub-class number to the right of the vertical line.


Builder's Plates.

Many locos were fitted with plates that identified the builder and year of building. Originally these were usually fitted on the cab sides below the number. Later, when the double-arrow logo came to be displayed here they were often moved to a central position low on the body sides. Therefore, if you specify a cabside logo, decals for the builder's plates will be provided as separate decals against the main body colour. Otherwise they will be incorparated into the cabside set. The plate types currently available are illustrated on the right.

Typically just year, sometimes with additional information.

Cabside Layout

The cabside markings are best supplied as combined decals, to minimise the visibility of the decal edges. The arrangement of markings could vary considerably, and was often different at the left and right hand ends, so please specify the layout you require here by selecting the order of markings from top to bottom. Any markings you have specified above but do not include here will be supplied as separate individual decals.

R:

R:

R:

R:

R:

For locos with a single cab, whether located centrally or at one end, use the "left" settings and leave the "right" ones set to "None". Use the "Space" option to increase the vertical space between certain markings, and leave excess unused positions set to "None".

Some locos had a particularly small cabside area for the markings. If this is the case, please specify the maximum height and width available for the main group of cabside markings, e.g. between the bottom of the cab window and the floor, and between the end of the loco (or the edge of the yellow if it wraps around) and the handrail for the cab door.

Height:

Please include your units of measurement. If you use cm/mm, this will be assumed to be the size of your model. If you use feet and/or inches, this will be assumed to be the size of the prototype to be scaled to model size.

This background colour applies to all of the cabside markings above. If you specify a yellow colour (for a wrapound yellow end), the later styles of number and shed/data labels will be black rather than the normal white – set the number/labels as white above.


Crest Types: Early, handed in 3 sizes; Later left-only in two sizes; Carriage crest; Double-arrow logos, white and metal plate; Crest plate for AC electrics.

Bodyside Markings

Crests and Logos

In the green era, the main bodyside marking was a crest, usually centrally located on the body side. The crest sizes are as described above. In the blue era, a large double-arrow logo (24 in. high) could appear in a similar position. More often, smaller logos were located on the cab sides, the smaller sizes are for logos in these positions.


Typical Name Plates: Sans-serif, black plate on maroon body colour; Serif/sans 2-line, red plate, on loco green body; Complex serif/sans, black plate, on rail blue body.

Name Plate

Many locos were given a name, and their name plates also appeared centrally on the body side, usually below any crest or logo. As standard, I can provide decals for a simulated version of the most common form of name plate, a round-cornered rectangle with raised border and one or two lines of lettering. Any second line was usually in much smaller letters than the main name. I can provide two styles of lettering, the traditional serif style, or the more modern sans-serif style. Typical plates are illustrated on the right.

Some plates were more complex, such as "The Royal Naval Reserve" shown. For such plates enter the text on two lines as best you can, and include special instructions to clarify the layout in box at the bottom of this page. If you have a clear photo of the pate you require that will help.

The background within the plate was usually black, or sometimes red.

In some cases the name plate also incorporated some form of crest or logo. If you can provide a clear photo of the plate you want, I can customised plates for this too, for a small additional charge depending on the complexity of the crest. Please contact me for a quote.

As with the cabside markings, the crest and name plate were often close together, and therefore best implemented as a combined decal. Please specifiy whether the crest should be above or below the name plate, or the decals should be separate.

Other Markings


Overhead electric warning label decals, early and late styles, with cutting guides.

Overhead Warning Labels

From late in the green era onwards, labels warning of the possible presence of overhead live wires were added to locos. These were usually placed high on the sides and ends, close to where workers may climb onto the loco, such as next to the cab doors. There were two styles of label, early and late as shown. Since these labels are white at the edges, the decals don't need a matched colour background and the cutting guides are set for cutting them to actual size. If required, decals for 12 labels will be included, sufficient for 3 per side and 2 on each end, plus 2 spares.


Multiple working label decals, with cutting guides and against early (upper) and later (lower) warning yellow colours.

Multiple Working Labels

Many diesel and electric locos were equipped with controls that allowed two or more locos coupled together to be controlled by a single driver. There were several different types of control connections and these were identified with labels consisting of coloured shapes placed low down on the ends. They were therefore usually against the yellow end colour, although some may have been used before the yellow for ends became standard and so could be against the main body colour.

The range of labels is illustrated on the right. The orange and yellow labels are available with optional black outlines to help distinguish them from the background colour. If required, decals for 6 labels will be included, sufficient for 2 on each end, plus 2 spares.

Additional Instructions

In some cases, the options provided above may not be sufficient to capture the combination or layout of markings you require. Please enter additional instructions here to clarify what you want. If you have a clear prototype photo, say so here and I'll send you an e-mail address to send it to.

Once you have selected the appropriate options above to configure your set of decals, click on "Confirm Specification" below to proceed to the next stage of the ordering process. (This will also temporarily store the information you've entered should wish to navigate away to another page.) You will then be taken to another page showing the information you've entered and giving the overall price for your decal set. You will then be able to either add the set to your order, or return to this page to change your specification.